Showing posts with label Scale Modeling. Show all posts

Friday, December 6, 2013

King Tiger Build- Painting Guide by Adam Wilder

After building the King Tiger (KT) kit and painting preparation now comes Painting and Weathering. Doing it for the first time, I did my usual research and prepared some painting guides based on techniques I came across with that seemed simpler for me to understand- or so I thought. The first guide I used is the Painting and Weathering Technique by Adam Wilder as published in missing-lynx.com. Adam's article discussed in detail and demonstrated the painting and weathering techniques he used to achieve  realistic weathered finish on his armor models. Actually, it follows the Scale Model Painting and Weathering Process Flow I posted previously.

I summarized in a table format the systematic group of processes for painting and weathering as Adam laid out, which helped me out in my first attempt to paint a scale model ever. Some of the techniques within the guide  are already used and discussed in other publications which were adopted. Credit was given by Adam to Tony Greenland and Makoto Takaishi for some of their techniques.

I'm not sure actually if it can be of help to you but I just wanted to post it also just in case it can be of use to some newbies like me.

Painting
STEPS
Paint/Thinner/ etc.
Amount/Application
Comments
A) Airbrushing
base coat
Tamiya dark green XF-61,
3 parts

Tamiya thinner X-20A,
one part


Tamiya semi-gloss varnish X-22
one part

Shadowed appearance-
Tamiya dark green,
1 1/2 parts
AB flat open surfaces with a lighter shade of base color
flat white XF-2,
1 1/2 parts
AB flat surfaces between any extrusions (grab handles, rivets, bolts, and weld seams).
Tamiya thinner,
1 part
Keep AB perpendicular to the surface of the model.

Tamiya dark green XF-61,
1 part

B) Applying a Wash

Thinner (Better Way brush cleaner)
1/4 a glass paint jar
Toothpick to apply small paint amounts to thinner allows you to easily regulate wash tint .

Winsor & Newton ivory black oil paint
15% paint and 85% thinner.
When wash is blended, put in a dust free booth and let dry for a day.

Winsor & Newton burnt-umber
# 2 round brush to mix/apply paint over the entire model
When the wash is dry start adding oils.


After 1st coat, continue brushing the model (without adding any more wash) with downward strokes to blend paint evenly over the surface.

C) Adding Oils- to give base coat a semi gloss finish to add depth that resembles painted steel; manipulate base color to a more desired color and further blend the base coat with the over-sprayed areas.

Winsor & Newton artist oils- black, white, and the three primary colors
toothpicks to mix artist oil paints
use color wheel to aid with mixing the colors

Linseed oil and varnish


Russian armor
light coat of red-brown oils
1. Dip # 2 round oil brush in red-brown mixture; brush off almost all from brush to sheet plastic.


Tamiya dark green
2. Brush over entire upper hull and fenders using downward strokes. Ignore from under the fenders down and running gear as these will be over-sprayed with earth colors later.

German Tiger tank
brown or red-brown color (artist oils)
3. When the paint stops spreading, re-dip into paint and wipe clean onto the plastic. Continue brushing until the model from the fenders up is completely covered. Let this coat dry for two days.


Talens Dammar picture varnish glossy 081 (varnish for oils)


Alkali linseed oil (artist grade)

used to improve the distribution of the paint over the surface of the model


On adding oils....
The mixed color of artist oils along with the makeshift pallet of sheet plastic.
Note how 99% of the pant is brushed from the brush before its applied to the model.
from missing-lynx.com

NEXT:


King Tiger Build- Weathering by Adam Wilder 


PREVIOUS RELATED POSTS:


Friday, March 1, 2013

Scale Model Painting and Weathering Process Flow II.

This is Part II of the generic Scale Model Painting and Weathering Process Flow (see Scale Model Painting and Weathering Process Flow I) which now offers general definition of terms used in weathering, tips and the usual order on the application of paint and other finishing layers that are commonly used.

After the Painting steps in Part I, the model will look like it has just come out of the war factory assembly line- which concludes your project if that is your goal- a "freshly minted" military vehicle.  To add realism to your model however,some wear and tear will certainly enhance your scale modeling experience and appreciation which definitely makes the model stand out!

Weathering Process Flow:

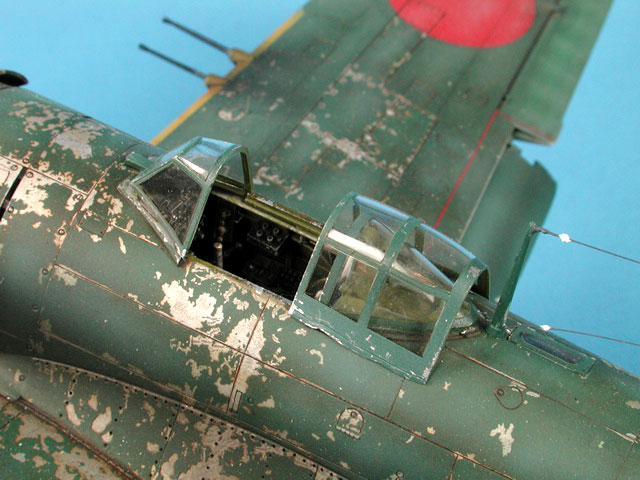
14. Chips.
Paint chips, rust chips, scratches etc can be applied with a very tiny brush or even a cocktail stick to any part of the vehicle- of course realistically to places where REAL exposure to the elements are expected to be. These should NOT be overdone,though.
Hasegawa 1/48 scale N1K2-J "George".
from hyperscale.com
15. Light Dust With Airbrush
Again, realism should be considered: lower vehicle parts and underside should receive a very light ‘dust’ layer with very thin paint.
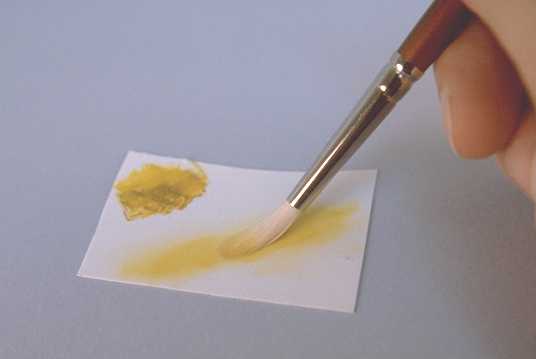
The key with the airbrush (AB) doesn't  to do with making the paint "thinner".
 It's keeping the AB about 6 to 8 inches from the model and keep it MOVING.
Like this sprayed with a "buff" acrylic mixture at about 15 psi.
from cs.finescale.com
16. Heavy Dirt and Dust
Mainly applied to vehicles; pigments and/or ground pastels can be applied with a brush which can be applied really thick mix with resin or varnish.
from cs.finescale.com
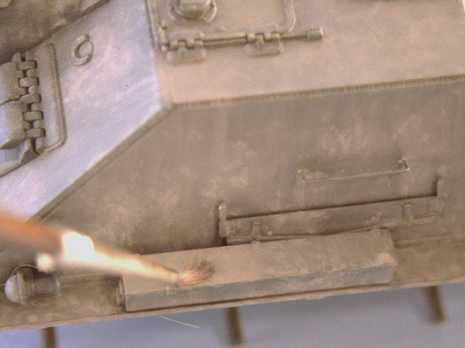
17. Light Dirt and Dust
Apply dry pigments or ground pastels in addition to the previous stage depending on the degree of weathering and muck you are replicating.
Note application of the dust coat. The right side of the toolbox shows the muddled appearance of
the washes and thinned light earth. The left side shows the carefully blended coat of earth and dust.
from missing-lynx.com
18. Detail Wear and Tear.
Recent signs of wear & tear and usage (oil and fuel stains, rain streaks, boot marks, etc.) that the vehicle would have recently suffered and should appear on top of all other weathering.
Leaks and streaks are generally formed on vehicles depending on environmental factors and their maintenance.
 Examples could be rain streaks, marks from fuel or oil leaks(red arrows above) and rust streaks.
from panzermania.com
19. Final Dusting?

Another very light dust layer with thinned paint from an airbrush to blend everything together.  This must be very light at this stage to avoid soaking or removing any of the dry pigments.

20. Final Protective Layer???

With a completed model,   the temptation is to give it a coat of matt, gloss or semi-gloss varnish to protect it -which is likely to impair the look of the model.  Varnish OVER dry pigments on the model will blend them together and may make them completely invisible; the different sheen on different parts of the model will become uniform .

If you feel the need to protect your model, then keep it to a minimum.  Matt/flatt or dry pigmented areas should receive only  very light varnish misting of  varnish mixed with matte or varnishes with different sheens to add interest to the model.


PREVIOUS RELATED POSTS:


Tags: , , , , , , , , , , , , , , , , , , , , , , , , , , , , , , , , , , , , , , , , , , , >, , , , , , , , ,

Thursday, February 28, 2013

Scale Model Painting and Weathering Process Flow I

This generic Scale Model Painting and Weathering Process Flow offers general definition of terms used in scale model painting and weathering, tips and the usual order of paint application  and other finishing layers commonly practiced- a simple guide that can help a newbie like me. This is by no means original (is there such a thing nowadays?) but of course is a result of research and my desire to learn more about this craft. It applies to military vehicles, aircraft, ship models, etc. that have a realistic non-gloss finish as glossy finishes (for car models) follows a different process flow.


Painting Process Flow:

This flow itself is just a general guide to achieve a good result on most models.  Not every step is required  in every case.  Some steps may actually require repetition to achieve a desired effect.

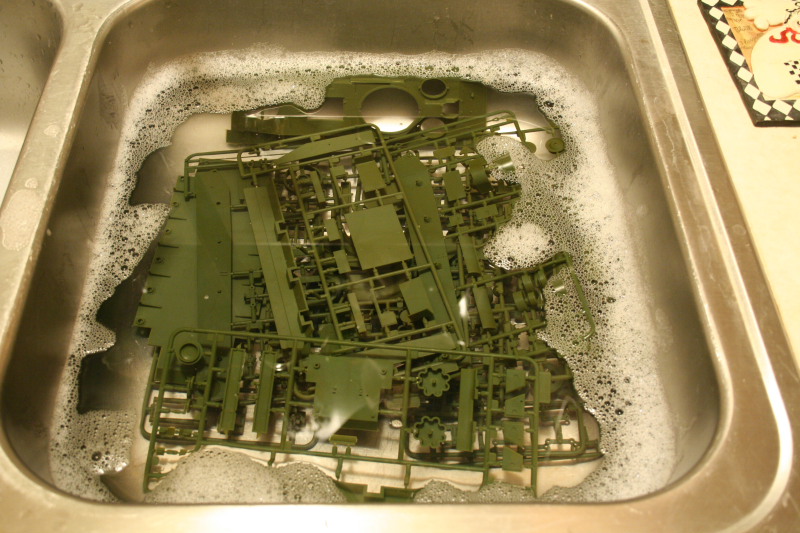
1. Wash all parts- to get a dust and grease-free surface. (see my previous post on this topic: King Tiger Build Proper- Prepainting Ritual.)
from www.bpmodels.net
2. Primer- the very first coat of paint which goes directly to the model’s surface completely covered later by  coats of paint. The main reasons for priming your model is to show up surface defects, improve top coats adhesion and as pre-shading.
The primer coat on this figure revealed areas where the seam was still visible – marked with the red circles)
from kamm-mecha.com
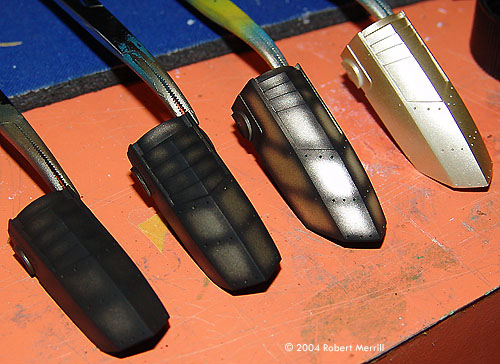
3. Pre-Shading- (optional); A method of darkening areas, such as panel lines, shadow areas around detail and control surfaces, prior to the main color coats. Primer coat of the right color may make this step unnecessary.
Hasegawa 1/48 Typhoon Pre-shaded
from www.aeroscale.co.uk
4. Base Colour
Apply with airbrush if possible using several thin layers with care to NOT totally obscure any pre-shading.
I used as base paint for my King Tiger Tamiya Paint 81760 Acrylic XF60 Dark Yellow.
5. Highlight Base Color and/or Post Shading.
Airbrushing a lighter shade of the base color in the center of panels and upper surfaces. Post-shading (airbrushed darker shade of paint into recesses and along panel lines to simulate shadows) can be very easily overdone so very thin paints airbrushed very sparingly is done and built up in layers.  
from starshipmodeler.com
6. Protection layer (optional)-
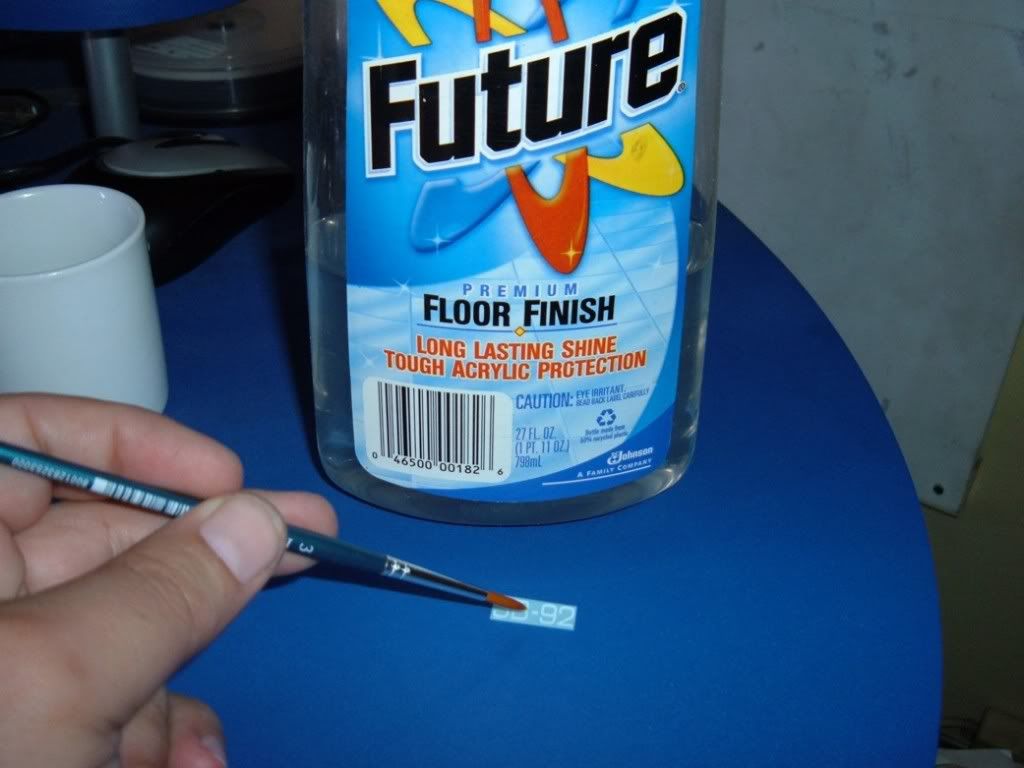
Many modelers apply a thin layer of varnish (often Johnson’s Future/Klear to protect the work done so far from the next stages.
Future is a water-soluble acrylic floor coating that was developed by
 S. C. Johnson Company in Racine, Wisconsin for linoleum flooring.
see THE COMPLETE FUTURE  for its full use in painting scale models
 7. Filters (optional).
This is a very thin transparent paint layer that subtly alters the color of the base layer and helps blend in the colors on camouflage schemes. This has become increasingly popular now with commercial made filters available like the one made by The MIG Productions Company.

8. Detail Painting- Brush painting tools, vehicle accessories and similar tiny items.  
9. Washes- These may be applied to the whole model or limited areas of the kit (pin washes).  
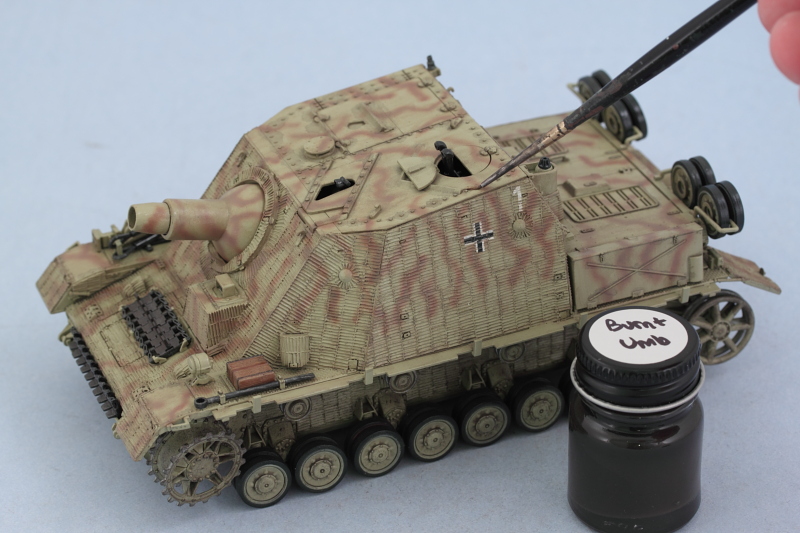
pin wash application using thinned enamel MM Burnt Umber and a pointed detail brush
from bpmodels.net

10. Gloss / protective layer. This is another protective layer in preparation for decal application as decals must be applied to a gloss or semi-gloss surface. Some apply this layer only in the decal area (some soak the decal in gloss varnish e.g.  Johnson’s Future/Klear so the decal ‘floats’ on a layer of varnish); while others prefer to put a gloss coat over the whole model depending on previous protective coats applied.
11. Decals / Markings- Applying decals and painting unit markings.
from patchesofpride.com
12. Dry Brushing- involves passing a paint brush that has almost no paint over the surface of the model and serves two purposes:  a. to emphasize kit textured surfaces (casting textures on armored vehicles; tread pattern on horizontal surfaces to improve grip, etc.; b. to highlight the edges of models as edges often look lighter because they reflect the light.
13. Protective Layer
This has two possible purposes: a. to seal in the decals before any serious weathering is done; b. to change the surface shine to it’s final effect using matte/flat or semi-gloss over the whole model.

Wednesday, January 16, 2013

King Tiger Build Proper- Prepainting Ritual

After building the King Tiger (KT) kits by section and zimmerits application, next is painting preparation. The plan was to paint before the sections are fully assembled as the concern was that I may not be able to reach all of the spots once the kits are put together. The kit was built and prepped per major section (hull and parts, turret parts and main gun) with the minor sections (road wheels, sprockets, tracks, etc.) still detached from the main tank.(Please see my previous post "Scale Modeling Guide: Main Battle Tank Parts" as guide). My goal was to thoroughly prepare the kit surface for painting and to apply the paint on every nook and cranny of the tank.
KT sections temporarily assembled with sticky tape.


KT Hull section and parts with zimmerit applied
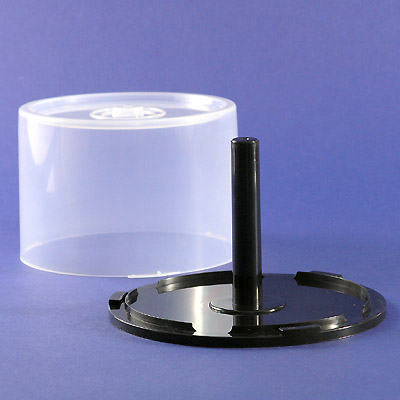
KT Turret, Main Gun section and parts with zimmerits applied . Note that this turret section was mounted
on a makeshift painting stand using a small camera tripod  and the inverted base of a CD Spindle cake box (see below).


Assembled road wheels, sprockets and parts mounted on modeling
clay using "tooth picks". This shot was taken post painting.
Continuous tracks broken down into parts mounted on modeling
clay using alligator clips on "tooth picks".This shot was taken post painting.
Cleaning the built kit before painting:

The oily and greasy stuff that comes with the plastic molding process and from your hands during kit build will stick on the kit surface and will affect paint surface adherence. Below are some materials used to clean  the kit before painting:

1. Soap and water. Dish washing liquid is usually used as it makes water wetter. The pre-assembled plastic model parts are soaked in the Dish washing liquid mixture of 4-8 drops in a 1/2 gallon of warm water for 10-12 minutes, rinsed in clean warm water and allowed to air dry.

2. Plastic Prep #546007 (from Polly "S") is a pre-painting cleaning agent for plastic surfaces used after the soap and water wash to remove any remaining mold release, Silicone or grease & oils still in crevices and again allowed to air dry before painting. It does a good job of lifting oils and mold release off of plastics and is reusable; you can run it through a coffee filter to keep it fairly clean.

3. 90% alcohol also works but you need to rinse it quickly before it evaporates and leaves all the gunk back on the surface. It also gets a bit heady in a closed room.

4. Some use vinegar on metal models because it's thought to act as a mild etchant to the metal making the paint adhere better to the model.


NOTE: It would be a good idea to use rubber gloves when handling the plastic after washing as well as there will be natural oils on your skin which will adhere on the dried parts.


NEXT:

King Tiger Build- Painting 
PREVIOUS RELATED POSTS: