Pros:
Easy and realistic.
Cons:
Currently hard to find outside of Australia. Restricted to one pattern. Looks
a little too thick.
Hot
Knife Scribing Method
This
employs a hot knife (with rheostat for temperature control) to scribe the
zimmerit pattern into the kit parts. A pattern is drawn on the model as a
guide and the zimmerit is melted into the surface following this pattern.
Pros:
Free (assuming you have the tools.)
Cons:
Pattern looks fake. Only one shot at a good pattern. Easy to the destroy
model. Difficult to model damage zimmerit.
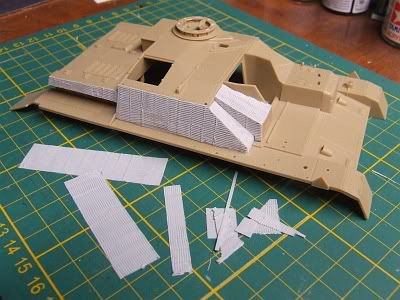
Injection
Moulded Styrene Sheets
Italeri
started this trend with the Panther Ausf. A with injection moulded zimmerit
sheets and replacement parts. They are acceptable but should be thinned out
by sanding from the back.
Pros:
Easy to use. Readily available.
Cons:
Expensive. Needs thinning out (at least Italeri parts do.) Need to modify for
different vehicles.
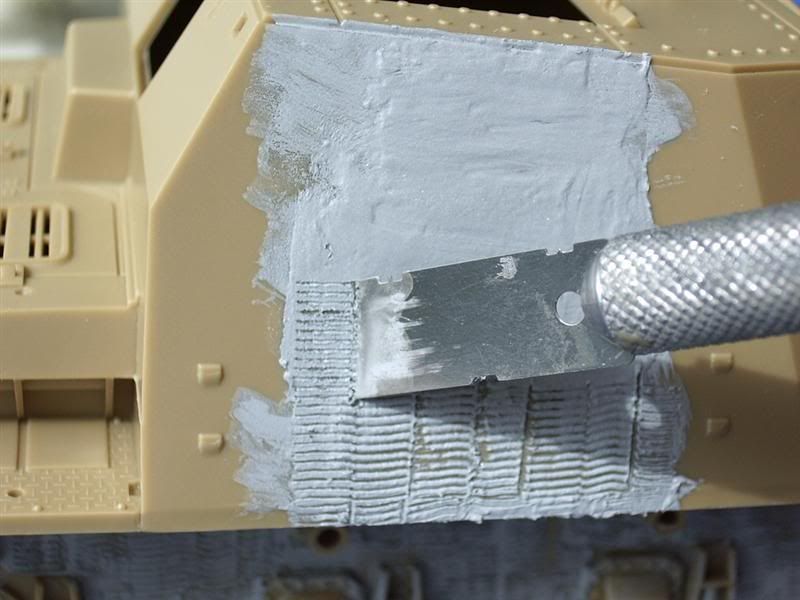
Textured
model putty method looks the best because it is replicates in scale the way
Germans applied zimmerit to their AFVs'. It is not difficult as it sounds or
as it’s described in literature. The application description follows in the
next post.
Pros:
The most realistic DIY method. Free!
Cons:
Intimidating at first. Time consuming
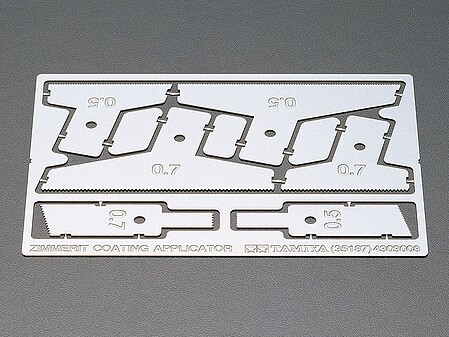
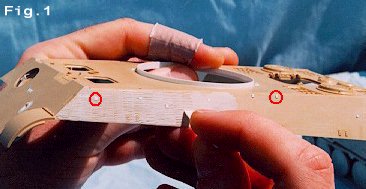
Putty
Raking - "The Tamiya Method"
This
is similar to Putty Texturing method except the pattern is made by dragging a
serrated tool across its' surface using a Tamiya set of tools (catalogue
number 35187) specifically made for this purpose - hence "The Tamiya
Method". DIY tools can be used including razor saws, corrugated metal,
etc. The pattern produced looks good but fails to capture the true troweled pattern well. The method is perfect though for Tiger I's which received raked
on zimmerit coats.
Dragging a serrated Tamiya zimmerit rake on a Brummbär scale model
Pros:
The easiest and most fool proof of the DIY methods. Free!
Cons:
Only accurate for "raked" pattern, as on Tiger I hulls.
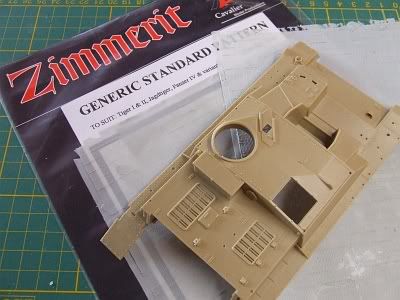
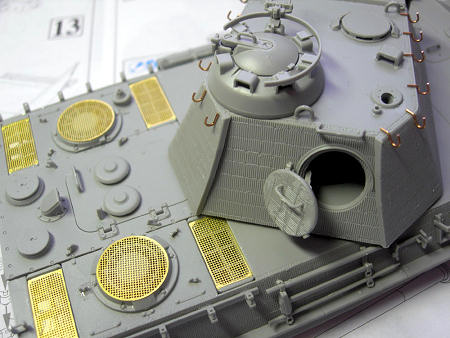
Resin
Replacement Parts
Kirin, Cavalier and Accurate Armour have zimmerit kits for the popular kits (Tamiya Panthers
and King Tigers.) While the patterns are good, they would require fixing up-
removing molding lugs, filling in bubbles, etc. more than for other methods.
Pros:
Perfect zimmerit representation (assuming the guy who did the master was
good!)
Cons:
Very expensive. Vehicle specific. Difficult to modify. Replacement kit parts
often simplified.
|